“In a hole in the ground there lived a hobbit. Not a nasty, dirty, wet hole, filled with the ends of worms and an oozy smell, nor yet a dry, bare, sandy hole with nothing in it to sit down on or to eat: it was a hobbit-hole, and that means comfort.” The Hobbit: “An unexpected party”
The life in the Shire seems so cozy and peaceful, it’s no wonder that many of us yearned to live in a hobbit-hole. Not all have the means nor the space to built a real hobbit-hole, but that doesn’t mean you can’t have one, right? Some time ago, a friend and I decided to create our own hobbit-hole that fits into a flowerpot. In celebration of Tolkien week and Middle-earth News’s My Own Shire photo contest, I thought I’d share a DIY guide with you. Maybe you can submit your own self-made hobbit-hole with us and win some of the amazing prizes!
Anyway, lets get started!
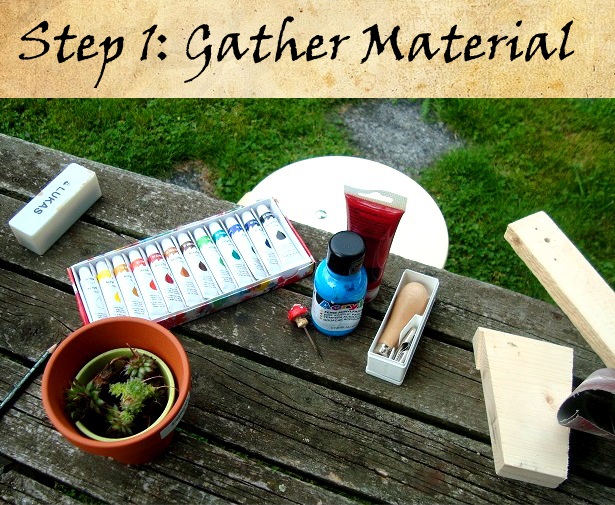
You’ll need:
- a piece of wood
- a pencil
- acrylic paint
- sandpaper
- a flower pot
- flower soil
- some plants
- carving tools (optional)
Make sure that your piece of wood has the right size. It should fit into you’re flowerpot but shouldn’t be too big since there should be room for plants left.
Step 2: Design the hobbit-hole of your dreams! I used screencaps from The Lord of the Rings and The Hobbit as a reference.
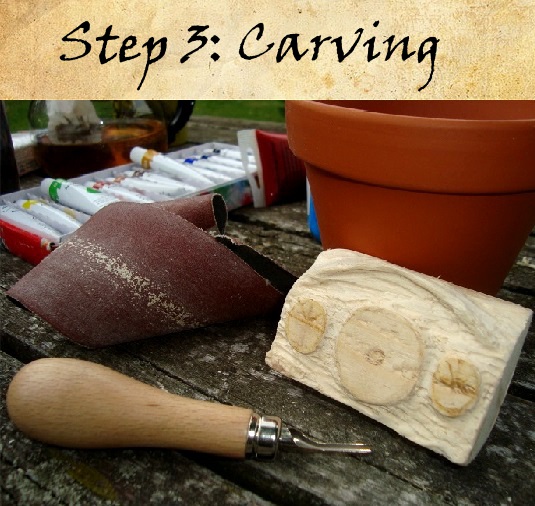
Step 3 can be optional if you don’t have any carving tools, but if you decide to carve out some details please be careful. It’s very easy to cut yourself – I certainly did! Whether you chose to carve or chose to leave this step out, depends on you. It’s suppose to be you’re hobbit-hole, so do whatever you want.
However, one step you shouldn’t leave out is to smooth the your entire hobbit-hole with sandpaper.
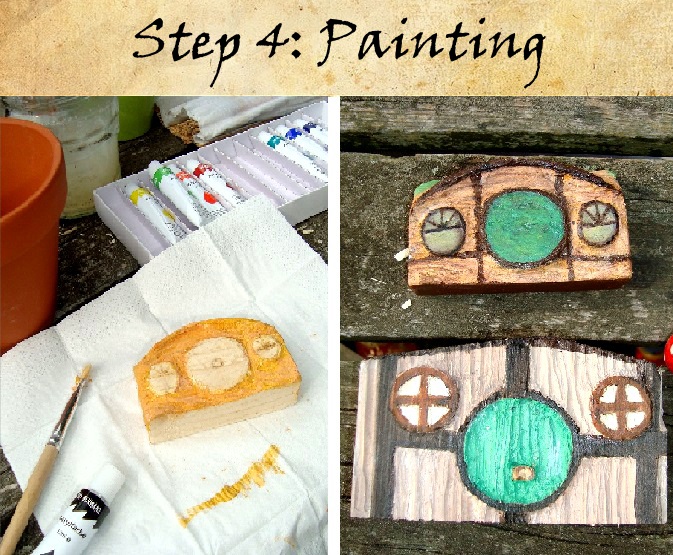
How you’ll decide to paint you’re hobbit-hole is up to you, but make shure to cover everything with acrylic paint otherwise your hobbit-hole will moulder after a while.
Step 5: Enjoy you’re afternoon tea! Maybe you could try some of Middle-earth News’s Feast Week recipes while waiting for the paint to dry.
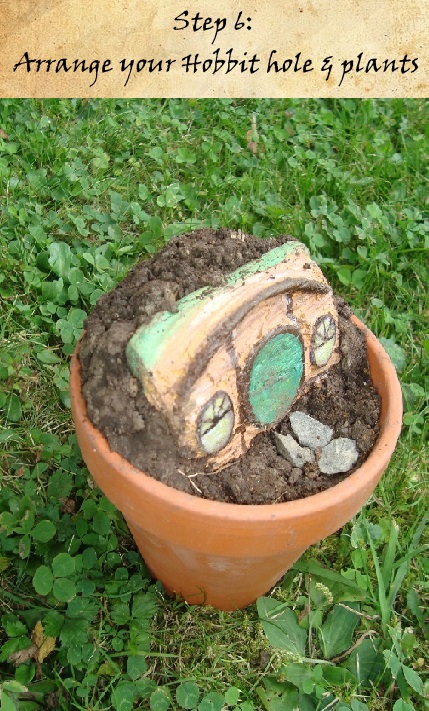
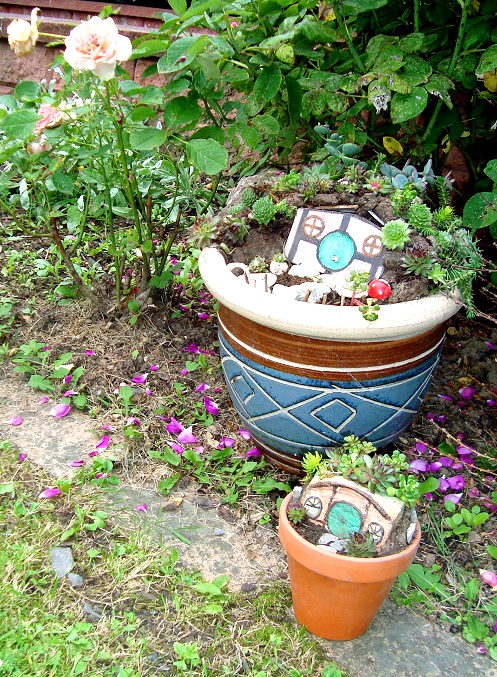
Now it’s time to get dirty! When everything is dry, you can start planting. Get some flower soil and place your hobbit hole. The type of plants you’ll use really depends on the size of your flower pot. If you want, you can now decorate your hobbit-hole with stones and everything that come across.
Congratulations, now you’ve got your own hobbit-hole!
I hope this little tutorial was helpful, but if there is anything left unclear then just leave a comment down below! Or maybe you’ve got a better idea of how to create a hobbit-hole then why don’t submit your creation and take part in the Middle-earth News My Own Shire photo contest? There are waiting some amazing prizes for you!

