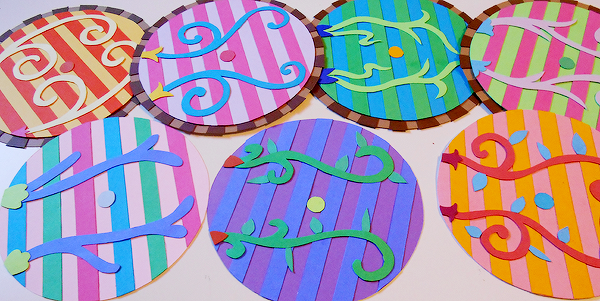
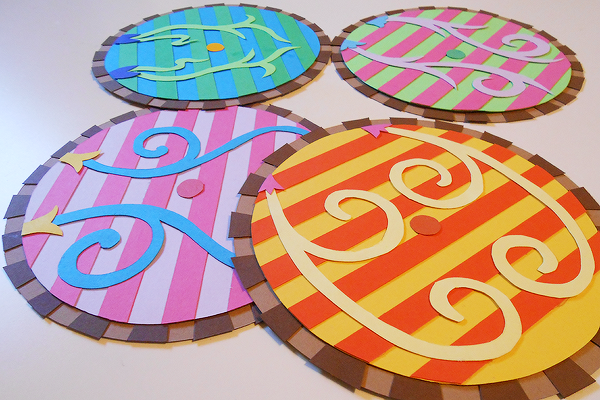
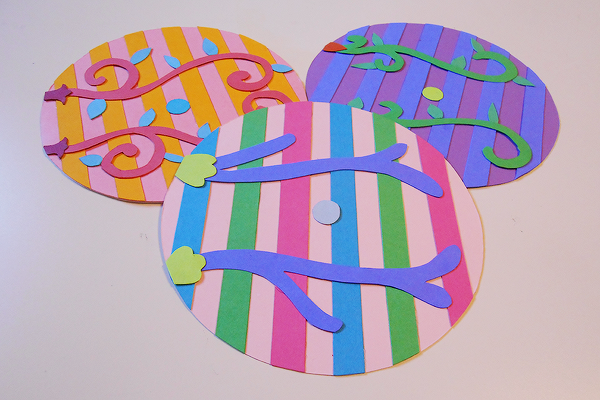
I’ve always loved working with paper, whether it was for school projects, scrapbooking, or cards for friends and family. So of course I would eventually incorporate my love for paper craft with my greatest love, The Lord of the Rings! I made hobbit door cards for the Middle-earth News team last Christmas and was happy to find that it was a fairly easy and relaxing task. I recently thought about making them again, but this time without the standard red and green color scheme of the holiday season. Art tutorials have helped me over the years, and I thought I would try and do one for my cards. I hope you find it helpful!
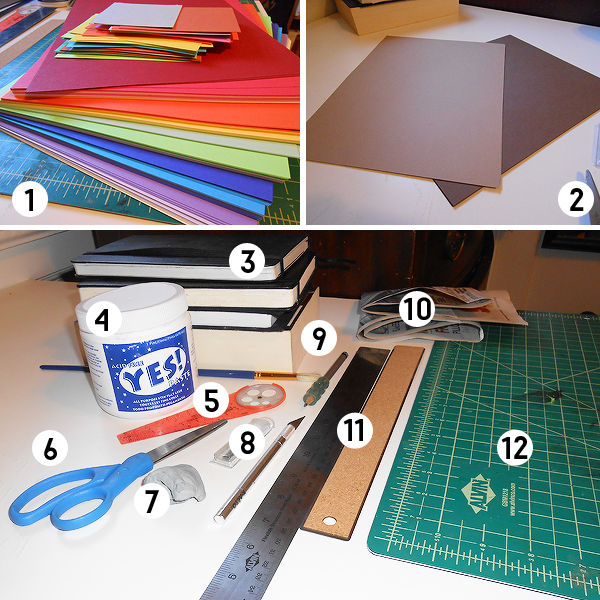
The first thing you need to do is make sure you have a clean area to work, a trashcan nearby, and the following materials:
- Different colored sheets of paper
- Light and dark sheets of brown paper
- A small pile of books
- Glue (I’ll be using Yes! paste and a paintbrush)
- Compass
- Scissors
- Eraser (preferably a kneaded eraser)
- X-ACTO knife and extra blades (I’ll be using #11 blades)
- Pencil
- Newspaper
- Ruler (preferably a metal one with a cork back)
- Cutting board

Step 1: Door Base
The materials you will need for the first step are: a sheet of paper, a cutting board, a pencil, a compass, and a pair of scissors or X-ACTO knife. Once you’ve gathered all of the materials, use your compass and pencil to draw a circle on the paper. The next part can be completed with either scissors or an X-ACTO knife, whichever you are most comfortable with. Cut out the circle you drew on the paper and try to get it to be as perfectly round as possible.
Step 2: Panels
Choose another piece of paper to create the look of wooden panels and cut strips of it with your X-ACTO knife and ruler. Scissors would work well, but the knife helps you get a more straight and precise line. I’m cutting strips 3/8 of an inch wide. After cutting 5-8 strips, start gluing them onto the circle. If you want, place newspaper down so you don’t get any glue on your work area because it can get messy fast. After gluing each strip, cut off any excess paper, it can be used later. When all of the strips are glued down, take your pile of books and set them on top of your card for about 5-10 minutes so everything flattens and the glue sets. Next, take your door and cut off the the rest of the excess paper.
Step 3: Door Details
Select a different color for the details, and draw a circle that is the same size as your door. This step lets you have some freedom, and it helps to sketch out some ideas first to decide what you want. Draw your design onto the circle and carefully cut it out. Apply a little glue on the back of each piece (the side with your pencil marks) and gently place it onto the door. Use your books again to help it all stick together, for 5-10 minutes.
Step 4: Door Hinges
For step four, pick another color for the door hinges and sketch out some ideas for the how you want them to look. Using your pencil, draw the shapes onto the paper and cut them out. Put a small amount of glue on the back of each and set it onto the door. After letting the glue set for 5 minutes, cut the extra paper off.
Step 5: Door Knob
This step is pretty easy; just select another color and draw a small circle. Cut it out and glue it in the center of your door. Stack the books on your card for about 10 minutes so everything flattens.
Step 6: Wooden Border
Get a sheet of your lighter colored brown paper and use your compass to draw a circle slightly bigger than your door and cut it out. Then with the darker brown, cut 1 inch strips of it and cut off small pieces, I like to cut alternating shapes but straight rectangles would work just as well. After you’re finished cutting, glue the pieces around your door, spacing them out as evenly as possible. Any extra paper can be set aside for another card. Once they’re all glued on and enough time has passed, take your door and apply a thin layer of glue on the back. Set it on top of the brown circle and use your books to help it all stick together.
Step 7: Back of the Card
For the back of the card, I like to do two things: either paste a piece of paper on the back and cut it out, or glue down a folded piece a paper. To do that, take a piece of paper (preferably white that is of a heavier stock then regular printer paper), fold it in half, and draw a circle on one side (about the same size as your base door). Make sure to not draw a complete circle so it can fold. Cut it out and glue one side onto the back of your card. You can stack your books on top for about 10 minutes just to make sure nothing is loose.
After all of this is complete, you’re done! You may have extra pieces of paper all around you, and instead of throwing them out you can use them for more cards or to add a little detail to some you already made. Use these for birthday invitations, greeting cards, holidays, unexpected parties… anything you like! If there is anything you would like me to expand on, tell me in the comments section below. Happy card-making!


6 Comments