This is the first post by a special Middle-earth News guest contributor, @FleurDeGaite. She is kindly providing a tutorial on Hobbit inspired nail art. I’ll let her take it from here!
Nail Art
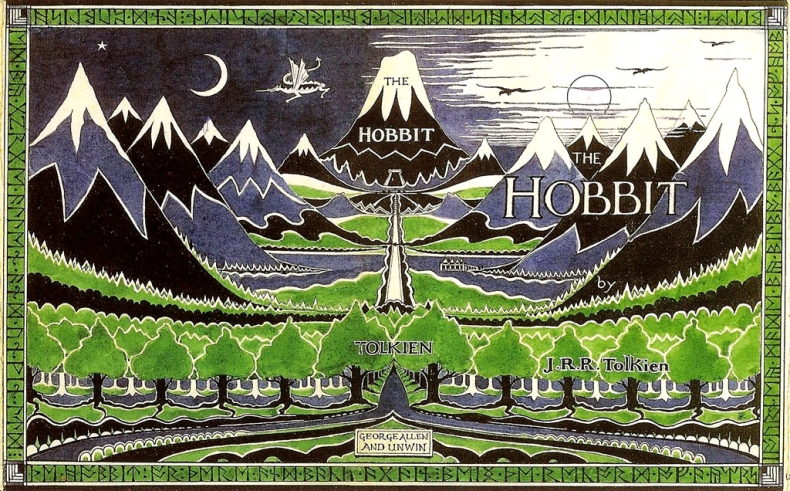
The Hobbit – book cover
I started out thinking about what colours I want to use and ended up with this collection; it is the closest I could get to the colours seen on the book-cover (see picture below).
In detail the colours I used were
- light pastel blue
- white
- light green
- dark red
- black
- grey
- transparent
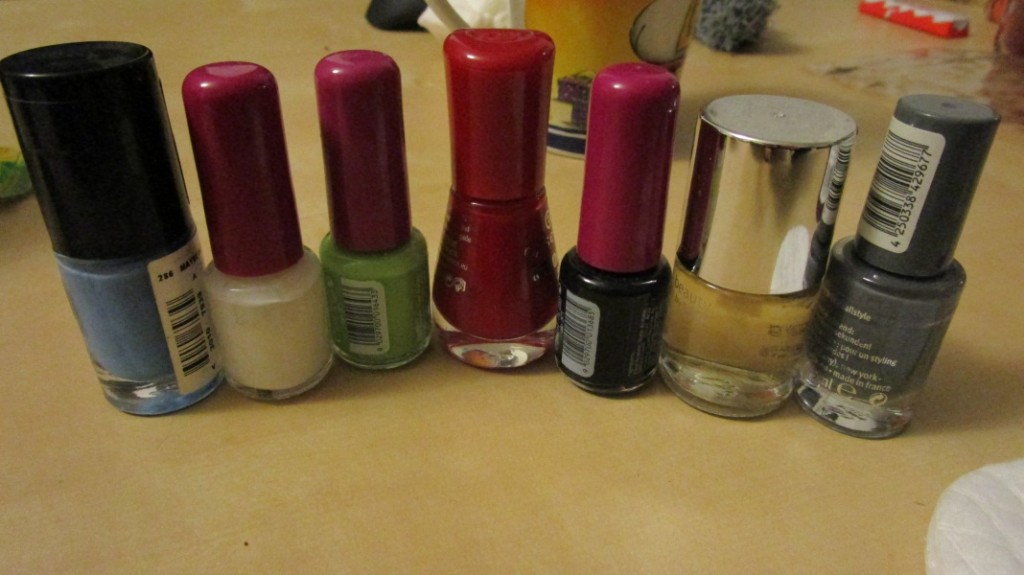
I used the transparent nail polish as base coat to prevent any left-overs after removing all of the nail polish, as well as top coat to finish.
The first thing I did was to make my nails longer artificially, for the simple reason that it’s easier to paint the more space you have available.

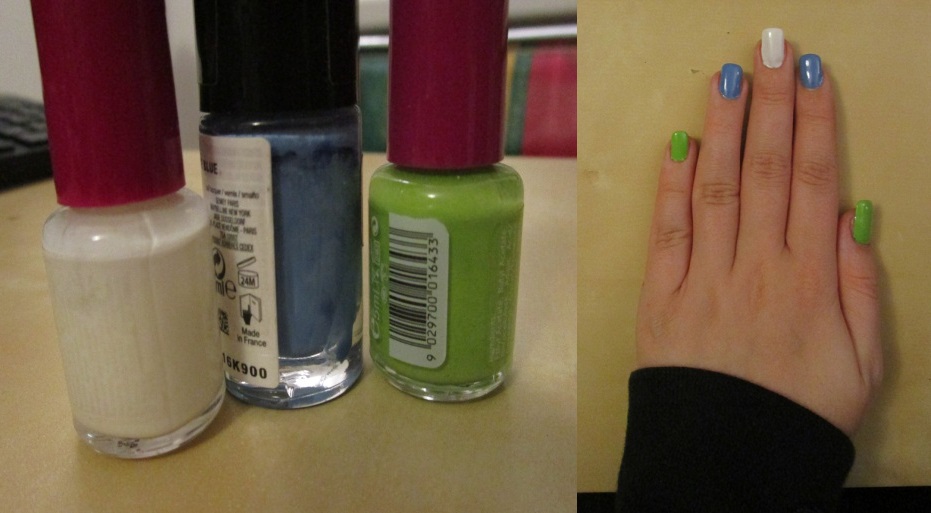
We start off with applying the base coat of transparent nail polish to prepare our nails for further paintings. Make sure to prepare yourself with all the colours you want to use as well as a thin brush, nail polish remover and some cotton rounds, so you don’t have to move while doing the “painting”.
Step 1
Take the light blue, light green and white nail polish and apply them on your nails in the following order. I use green as background for trees, the blue and white for mountains. Of course you can swap the arrangement in any way you like it!
Step 2
The Trees:
As you can see on the book cover, the trees aren’t an artistic masterpiece, so they are quite easy to do. Take your thin brush and use the white nail polish to paint one or two of these forms (similar to a spade), depending on how wide your nail is. Then use the black nail polish to add some “tree trunks”. If you have enough space, you can switch between black and white trunks, as seen on the book-cover. In the end, it should look something like this:
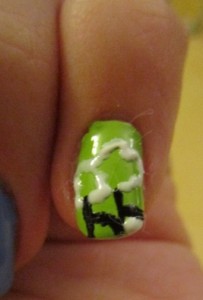
(Note: This thin threads you see here are due to the extended age of my white nail polish and shouldn’t normally happen)
I did the same on the thumbnail, which is usually easier due to more space. If you like it better you can also leave it blank.
Step 3
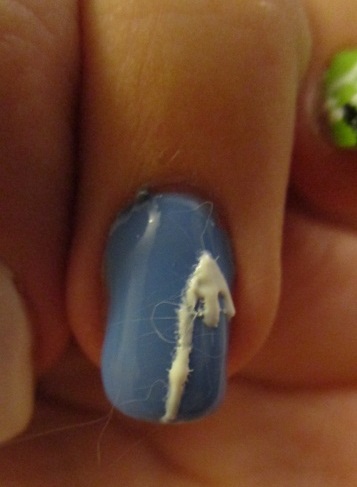
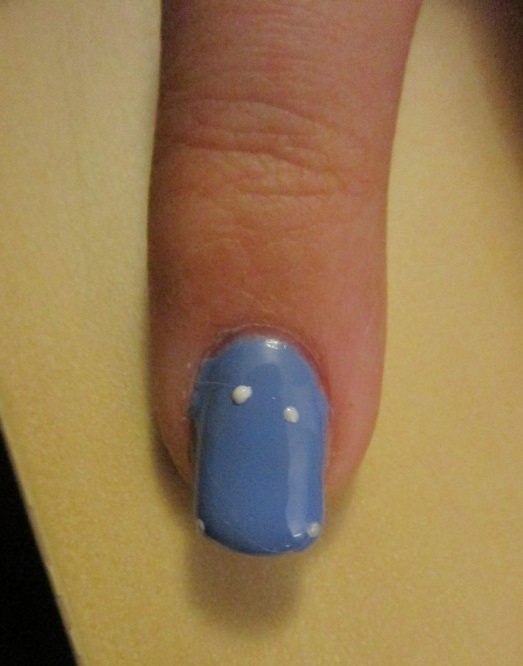
Mountain 1 (blue):
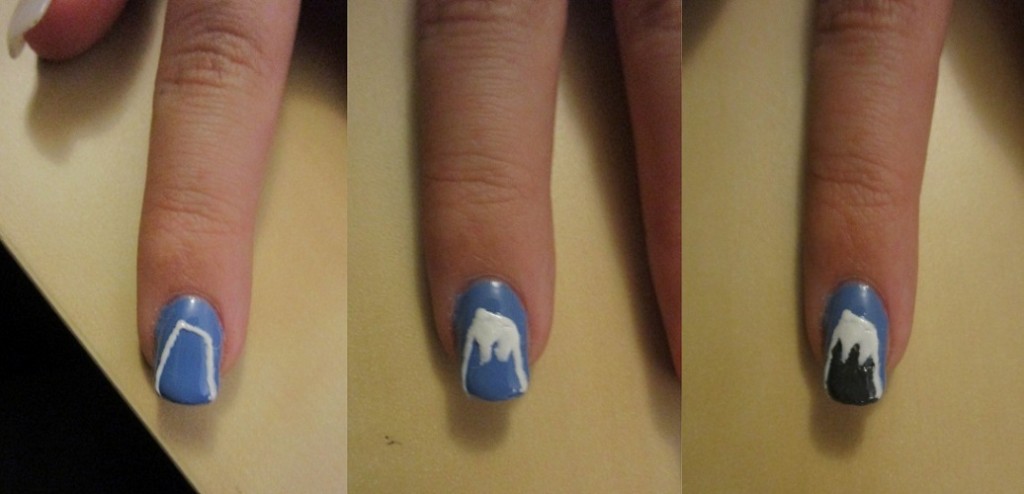
For the next nail, we are going to use the white nail polish again to draw a mountain. I use dots to make this easier: Imagine what shape your mountain should have and make a single dot on the place where the peak should be. Start from there and draw a diagonally line down to the end of your nail. Start at the dot again and do the same thing on the other side. Once you’re done, you fill in the uppermost peak with white to create the snowcaps of the mountain. Design your snowcap in any way you like – it looks incredible however you do it!
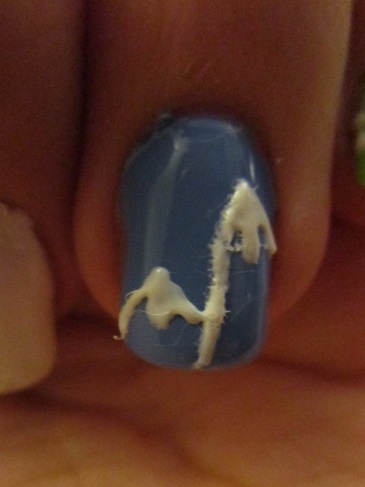
Add a second, smaller mountain next to the first with the same technique and fill the top again. The next steps are very optional now; choose the way you think looks best:
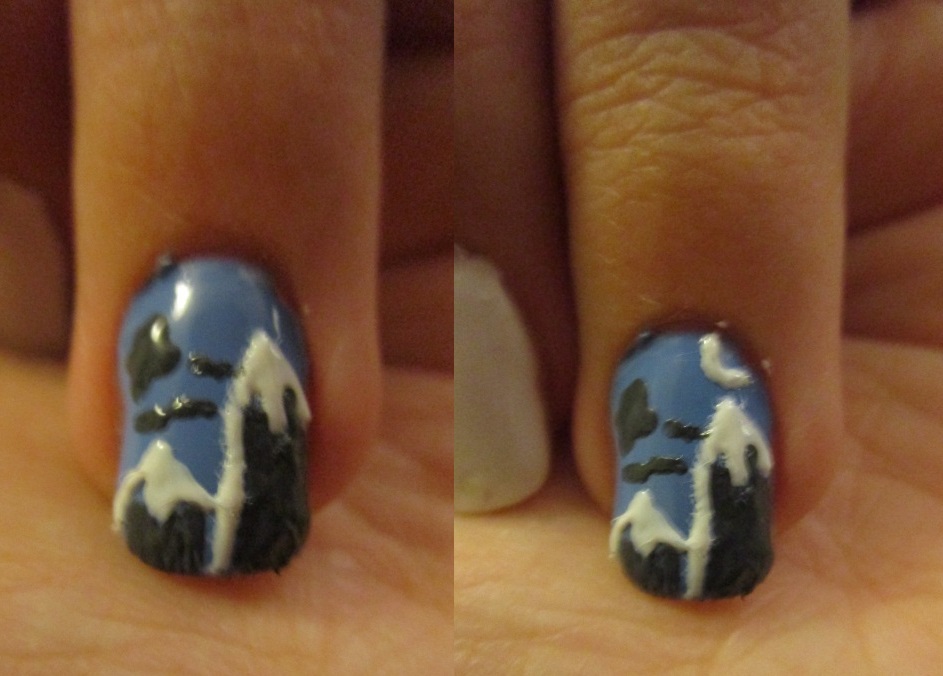
You can leave the mountains the way they are now, maybe in homage to the Blue Mountains referred to in Tolkien’s books. If you don’t like that and want to stay true to the book cover, you take the grey nail polish and the thin brush and start to fill in the space under the white snowcaps. I also added some dark clouds, as you can see in the next picture. Again, the older the nail polish is, the harder it gets to paint with them.
In the end, I added a crescent moon (although it doesn’t really look like one) in the right upper corner. When finished, it should look something like this:
Step 4
Mountain 2 (white):
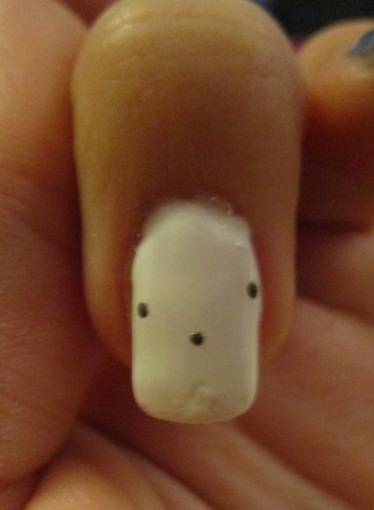
We continue with the white nail. Again, we use the dots as a reference point. I wanted to have two taller mountains guarding a smaller one in the middle, so I placed my mountain peaks like this:
Draw the outlines like before; it’s easier if you have in mind what they should look like in the first place. In my version, the mountains ended up like this:

For the snowcaps, we have to think in reverse now, due to the white background. If it’s easier for you, you can also fill the whole mountain with grey nail polish and add the snowcaps later on.
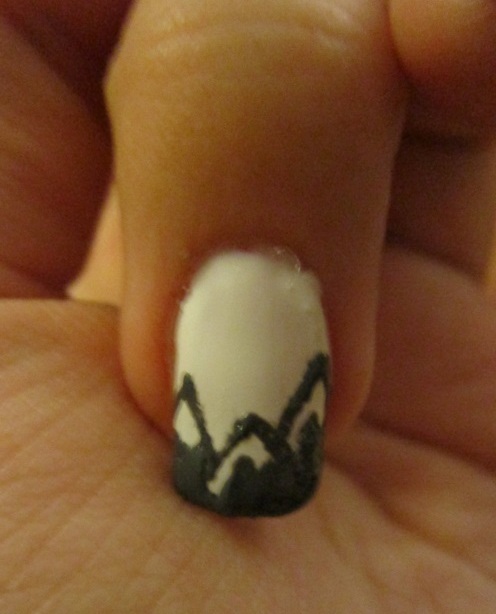
Next, I used the red nail polish to draw a circle, representing the sun, right over the peak of the mountain in the middle. I used a darker red; if you like a lighter one better, feel free to use that instead. After that, I used the grey nail polish again to draw some wisps of clouds or fog – you don’t have to add these if you like it better this way!

Step 5
Mountain 3 (blue):
For this last one, I used mountain you see in the very middle. Due to its crooked top, I used the dots again. I placed two dots on the edge of the nail, where the mountains foot will be and two dots in the upper third of the nail; one should be a bit further up to get the crooked top.
Next, you connect the dots with thin lines and start to create the snowcap again, as well as fill up the rest with grey nail polish.
If you have enough space left, you can add Tolkien’s symbol above the mountain or in the middle of it; I saw book covers in that version as well.

Basically that’s it! When you’re finished it should look something like this.

I hope you enjoyed this tutorial and if you have any further questions, please feel free to contact me on Twitter (@FleurDeGaite). Feel inspired!

